
D.I.Y: pencil case
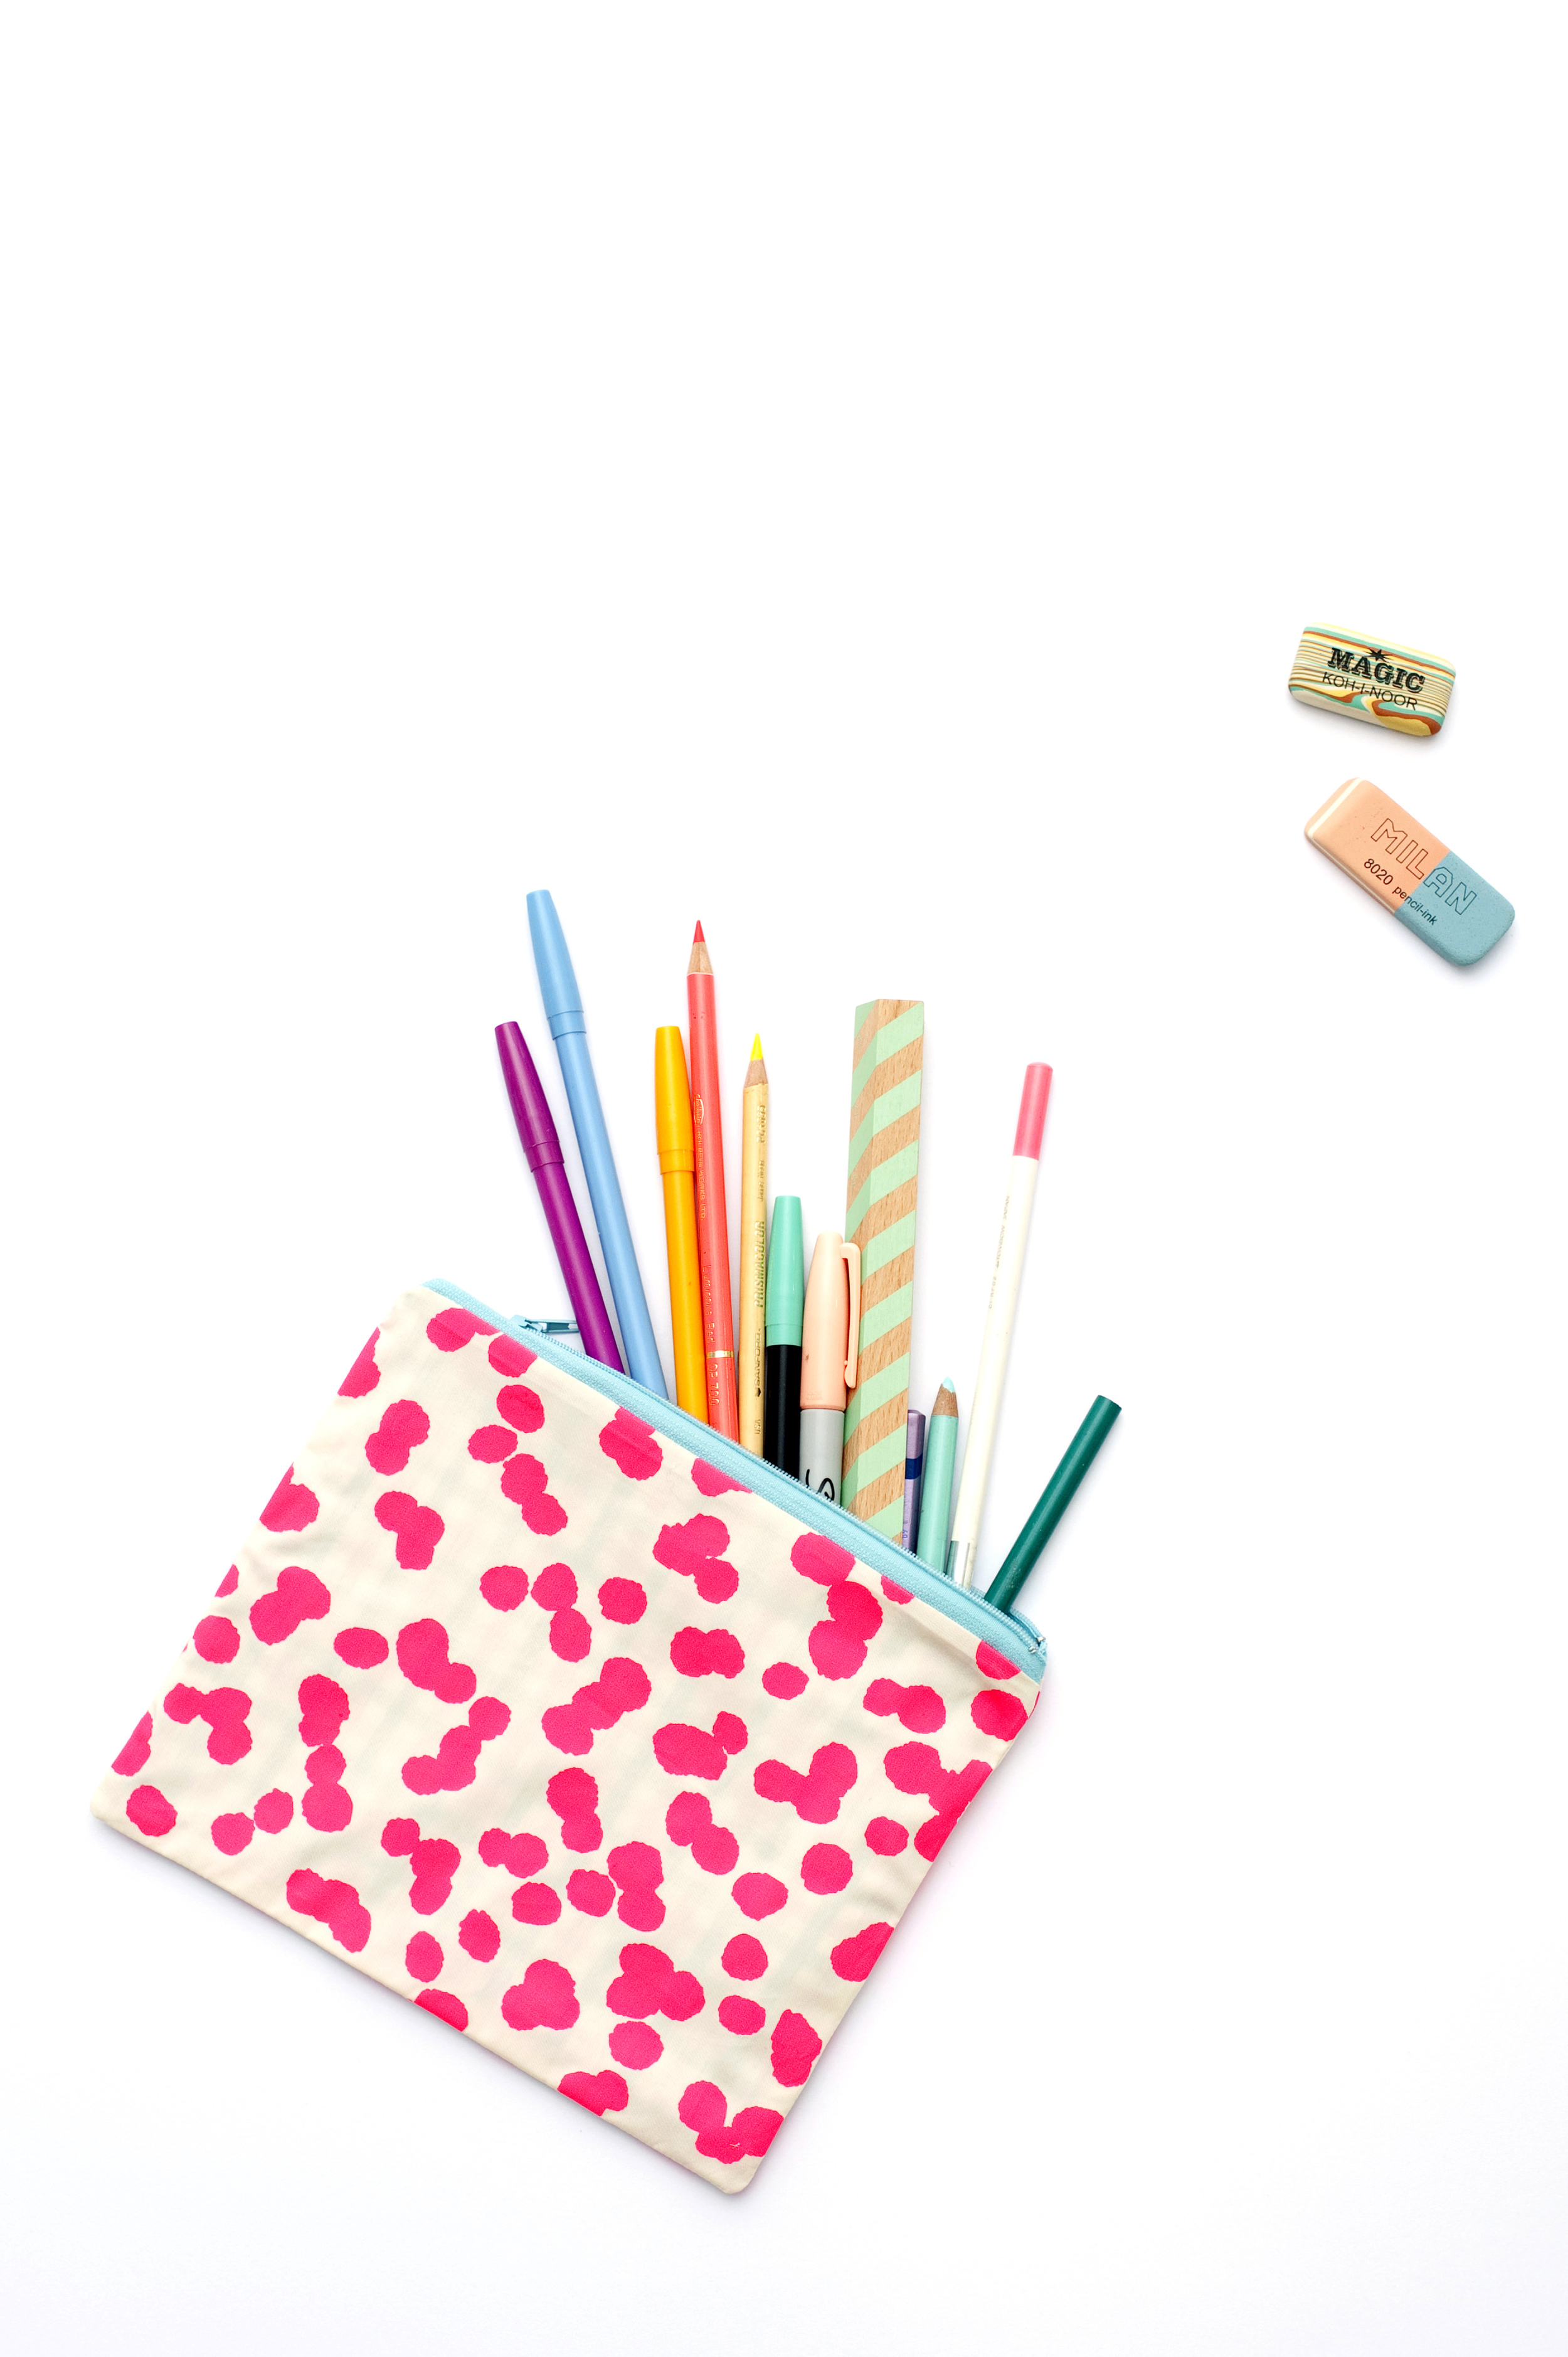
Photo by BOCO for Hello Tokyo. You can purchase the book here on Amazon.
You will need 2 pieces of fabric for the outside, 2 pieces of fabric for the lining, zipper, sewing thread, sewing machine (or hand-sewing equipment), scissors, pins, needles and general sewing supplies.
Step 1: Check the length of the zipper and cut the pieces of fabric to the size you'd like the pencil case to be, adding approximately 1 cm (3/8 inch) seam allowance around all sides.
Step 2: Place one edge of the zipper between one outer piece of fabric and one lining piece, with right sides facing the zipper. Sew along the edge of the zipper through all layers using a straight stitch on a sewing machine or by hand. Repeat this with the remaining pieces of outer and lining fabric on the opposite edge of the zipper.
Step 3: Lay the pencil case out flat and open the zipper halfway. This is important, or you won't be able to turn it right way out.
Step 4: Now fold the fabric back so that the two lining pieces are on top of each other (right sides facing) and the two outer pieces are on top of each other (right sides facing) and make sure the zipper is still halfway open. Stitch a 1 cm (3/8 inch) seam around all four edges using a straight stitch, leaving a small gap in the bottom edge of the lining pieces so that you can easily turn the pencil case right way out. Once you have sewn around all 4 edges, cut diagonally across the corners to mitre them so they are nice and neat. Turn the pencil case right side out through the gap in the seam and the open zipper. Stitch the gap in the lining closed.


E N J O Y !
LOVE LOVE
HELLO SANDWICH
XO
BACK TO TUTORIALS


