Let's Make! String Letter!
When we send letters to friends, sometimes they are read and then placed back in the envelope and hidden away in a cupboard or drawer. With this cute string letter, your receiver can hang it on their wall like a garland and continue to enjoy the letter in the future! I hope you will enjoy making this 'Let's Make! String Letter'.
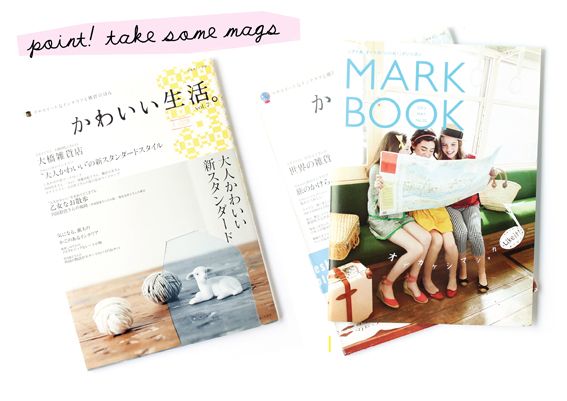
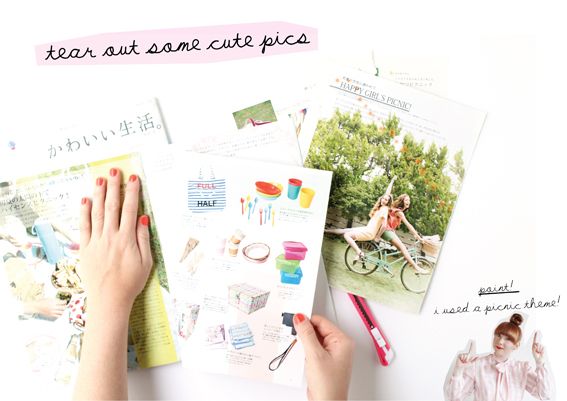
Take some old magazines or cute vintage books and tear out some pages with nice images. I have focused on a picnic theme here so I can send my friend a 'picnic in an envelope', but you don't have to have a theme!
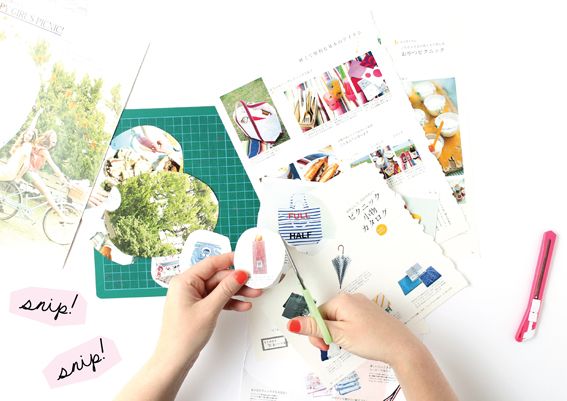
Allow a little bit of space around your image and then cut out roughly around the image.
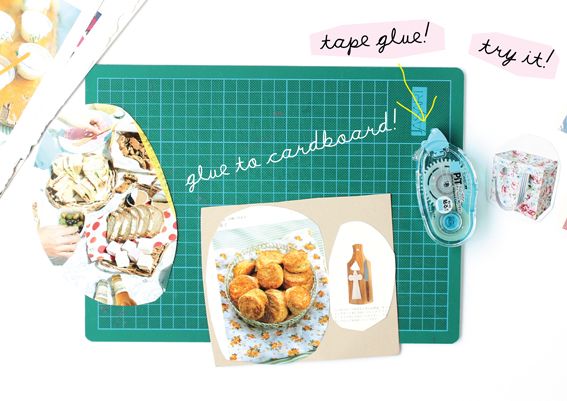
Next, use tape nori (tape glue) to glue the cut out images onto a piece of cardboard of a colour of your choice. It’s cute if each of the images are stuck on a different coloured cardboard, too!
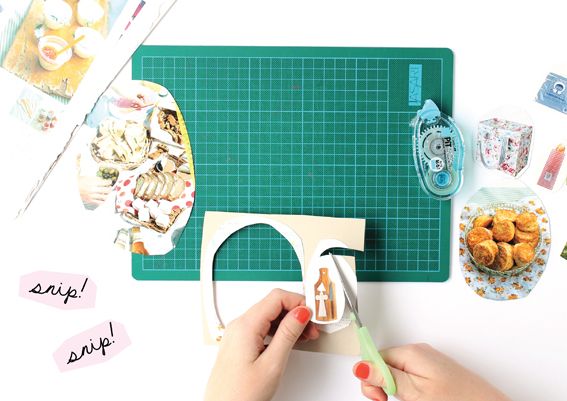
Now that your image has a cardboard backing, it’s time to cut out around your image.
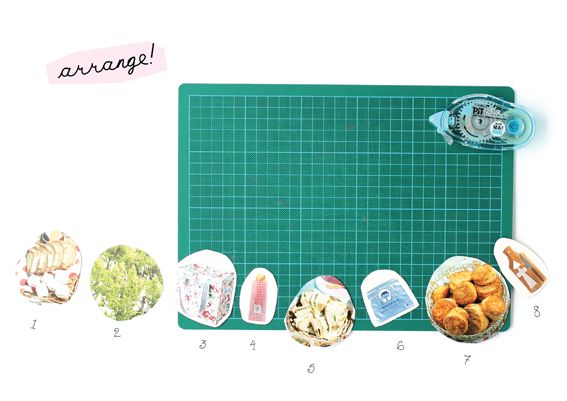
Once you have followed the above techniques for the other shapes of your string letter you can lay the pieces out to arrange them in the order of your choice. It’s a good idea to have a nice balance of a smaller image next to a bigger image and so on.
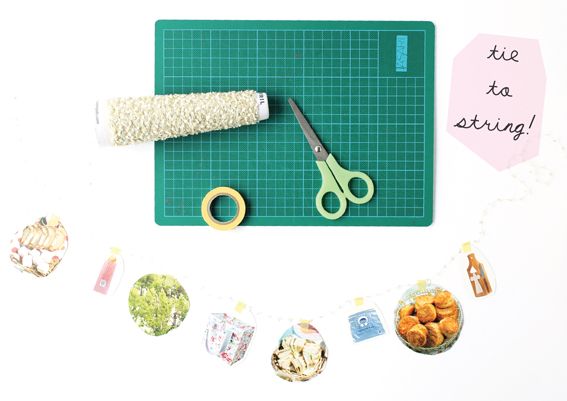
Attach the images to a piece of cute string using masking tape. I usually fold over the masking tape so it doubles over itself.
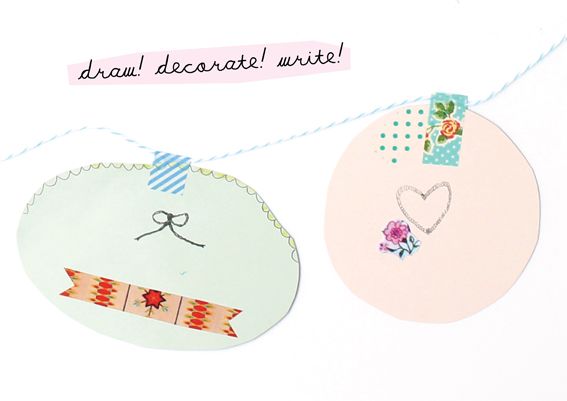
Enjoy writing cute messages and doing cute little drawings on the back of your string letter. You can also add some collage papers and decorate with masking tape and stickers. This is the fun part!
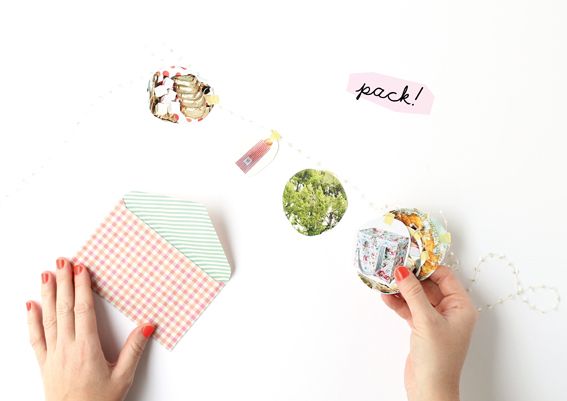
After you have enjoyed writing cute messages on your string letter it’s time to put your string letter inside your envelope.
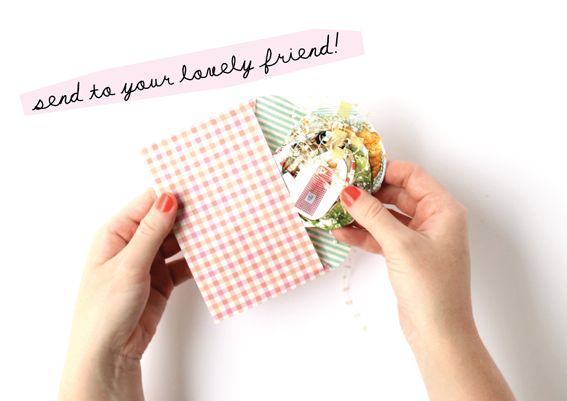
Finally, enjoy sending your cute letter on a string to your lovely friend!
Love Love
Hello Sandwich
xoxo


Take some old magazines or cute vintage books and tear out some pages with nice images. I have focused on a picnic theme here so I can send my friend a 'picnic in an envelope', but you don't have to have a theme!

Allow a little bit of space around your image and then cut out roughly around the image.

Next, use tape nori (tape glue) to glue the cut out images onto a piece of cardboard of a colour of your choice. It’s cute if each of the images are stuck on a different coloured cardboard, too!

Now that your image has a cardboard backing, it’s time to cut out around your image.

Once you have followed the above techniques for the other shapes of your string letter you can lay the pieces out to arrange them in the order of your choice. It’s a good idea to have a nice balance of a smaller image next to a bigger image and so on.

Attach the images to a piece of cute string using masking tape. I usually fold over the masking tape so it doubles over itself.

Enjoy writing cute messages and doing cute little drawings on the back of your string letter. You can also add some collage papers and decorate with masking tape and stickers. This is the fun part!

After you have enjoyed writing cute messages on your string letter it’s time to put your string letter inside your envelope.

Finally, enjoy sending your cute letter on a string to your lovely friend!
Love Love
Hello Sandwich
xoxo
